Step-by-Step DIY Guide to Building Functional Closet Shelving
Understanding Your Closet Needs
Before diving into building your own closet shelving, it’s essential to understand what you need from the space. Do you require more hanging room, additional shoe storage, or perhaps a combination of both? Take time to analyze your current closet contents and determine which items lack proper storage.
- Inventory Assessment: List all items in your closet to identify specific storage needs.
- Space Measurement: Measure your closet dimensions accurately, noting height, width, and depth.
Designing Your Custom Shelving
The next step is designing shelving that meets your specific needs. A well-thought-out design will ensure efficient use of space and enhance functionality. Here are three approaches to consider:
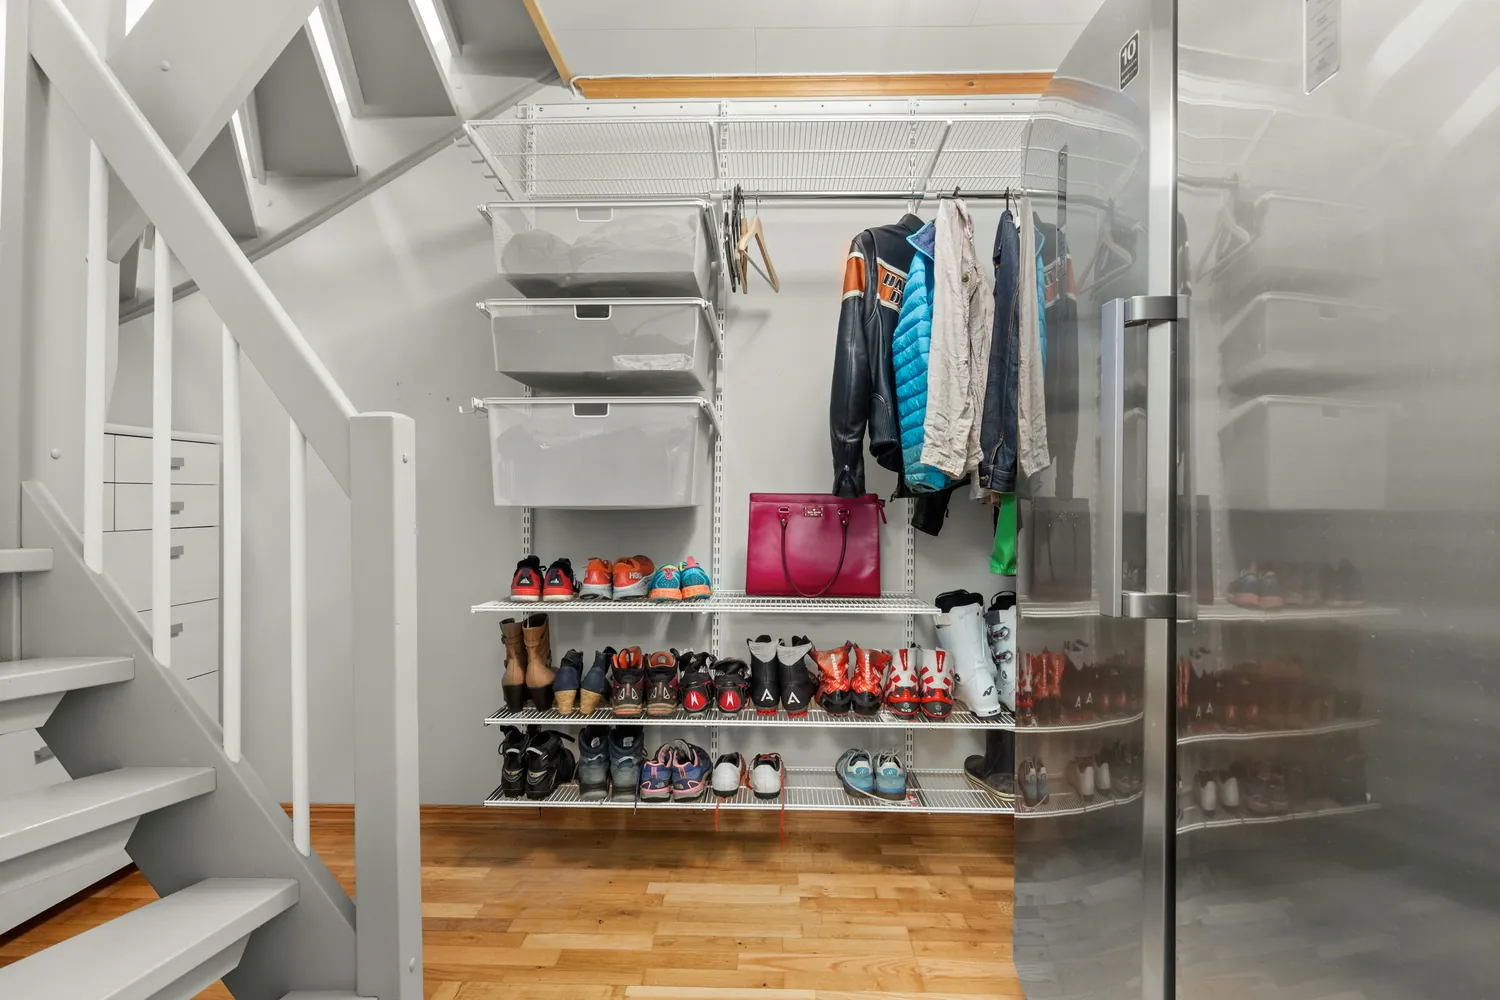
Adjustable Shelving Systems
Adjustable shelving systems offer flexibility and adaptability. They consist of vertical rails and brackets that allow shelves to be moved easily. These systems are ideal if you frequently change the contents of your closet or want the flexibility to modify shelf heights over time.
- Pros: Highly flexible, easy to install and adjust, perfect for evolving needs.
- Cons: Can be pricier than fixed shelving; may require more precise installation work.
This approach suits individuals who appreciate customization and foresee altering their closet's use in the future.
Fixed Shelving
Fixed shelving provides a permanent solution with sturdy support. Using strong materials like wood or MDF ensures durability. Fixed shelving is optimal for those who have a clear understanding of their storage needs and prefer a solid setup.
- Pros: Stable and robust; typically offers a cleaner look.
- Cons: Less flexibility; harder to rearrange once installed.
Use this method if you have a consistent wardrobe and do not anticipate major changes in storage requirements.
Cubby Storage
Cubbies are particularly effective for organizing smaller items such as shoes or accessories. You can build cubbies to custom dimensions based on your specific items.
- Pros: Excellent for small item organization, visually pleasing, adds a boutique feel.
- Cons: Takes up more space, less adaptable for larger items.
This method is best if you have numerous small items that need specific compartments to stay organized.
Selecting the Right Materials
Your choice of materials will directly affect the durability and appearance of your shelves. Here's a quick guide on common materials used in DIY closet shelving projects:
Wood
Wood is a classic choice due to its durability and aesthetic appeal. It's suitable for both fixed and adjustable shelving systems.
- Plywood: Affordable and strong; ideal for painted finishes.
- Hardwoods: Offer a premium look; best for visible shelves where aesthetics matter.
MDF (Medium-Density Fiberboard)
MDF is cost-effective and easy to paint or laminate, making it an excellent option for custom color finishes.
- Pros: Affordable, smooth surface for painting.
- Cons: Not as strong as solid wood; can sag under heavy loads without proper support.
Wire Shelving
A practical choice for those looking for quick installation and easy maintenance. Wire shelves are lightweight and provide good ventilation, which helps reduce moisture buildup.
- Pros: Easy to install; ventilates well; less expensive than solid materials.
- Cons: May not hold as much weight; less visually appealing than wood or MDF.
Building Your Closet Shelves
With your design finalized and materials selected, it's time to start building. Below is a general workflow that applies across different types of shelving systems:
Gather Your Tools
You’ll need a variety of tools depending on your chosen shelving type. Common tools include:
- Tape measure
- Screwdriver set
- Circular saw or jigsaw
- Drill with assorted bits
Installation Process
- Prepare the Space: Empty your closet and clean all surfaces. Use a stud finder to locate wall studs if you're installing heavy shelves.
- Cut Materials: Measure and cut your shelving materials according to your design plan. Double-check measurements before cutting.
- Install Supports: For adjustable systems, mount the vertical tracks on studs. If using fixed shelves, install L-brackets or cleats for added stability.
- Position Shelves: Attach the shelves to supports, ensuring they are level. Use a spirit level to check alignment before securing them in place.
Add Personal Touches
Your custom closet shelving doesn't just have to be functional; it can be stylish too! Consider these finishing touches:
- Add Trim or Molding: Enhance the visual appeal of your shelves by adding decorative trim or molding along edges.
- Paint or Stain: Choose a finish that complements the room’s decor. Painting shelves can add color, while staining can enhance natural wood grain.
Maintaining Your Closet Shelving
Shelving maintenance ensures longevity and continued functionality. Here are some tips for keeping them in top condition:
- Dust regularly with a microfiber cloth to prevent buildup.
- Avoid overloading shelves to prevent warping or damage.
Troubleshooting Common Issues
If issues arise during or after installation, here's how to address them effectively:
- If shelves bow or sag, reinforce with additional supports or use thicker materials.
- If alignment seems off, adjust brackets or supports until they sit level.