How to Repurpose Old Drawers as Beautiful Kitchen Storage Units
Transforming Old Drawers into Kitchen Storage: An Eco-Friendly DIY
In today's fast-paced world, many of us strive to find ways to be more sustainable. One practical and creative approach to sustainability is through upcycling—taking old, unused items and repurposing them for new uses. In this article, we'll explore a delightful DIY project that transforms old drawers into functional and stylish kitchen storage units. Not only does this help reduce waste, but it also adds a personalized touch to your kitchen decor.
Materials You Will Need
Before diving into the step-by-step process, it's essential to gather all necessary materials. Here is what you will need:
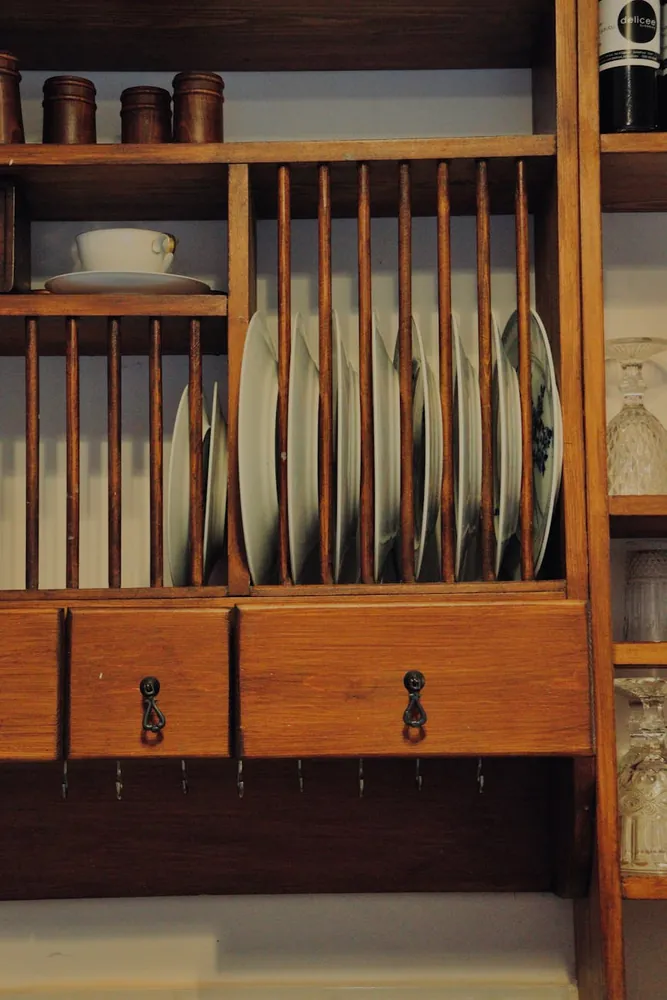
- Old Drawers: Ideally, look for solid wood drawers from discarded dressers or nightstands. These are sturdy and can easily support weight.
- Sandpaper: Medium-grit (100-150) and fine-grit (220) sandpaper to smooth the surface.
- Paint or Stain: Choose colors or stains that match or contrast pleasingly with your kitchen aesthetic.
- Paintbrushes or Rollers: Depending on your choice of paint or stain.
- Handles or Knobs: For easy opening and a personalized style.
- Wall Brackets or L-brackets: To securely attach the drawers to the wall.
- Screws and Screwdriver: For assembly and attachment.
- Measuring Tape: To ensure proper alignment and placement.
Step-by-Step Guide
Step 1: Prepare Your Workspace
Ensure you have ample space to work in a well-ventilated area. Lay down some drop cloths or old newspapers to protect surfaces from dust and paint spills.
Step 2: Sand the Drawers
Using medium-grit sandpaper, thoroughly sand each drawer to remove any old finish or paint. This helps the new paint or stain adhere better. Follow up with fine-grit sandpaper for a smooth finish. Remember to wipe down the drawers with a damp cloth to remove any dust particles after sanding.
Step 3: Apply Paint or Stain
Decide whether you want a painted or stained finish. If painting, apply a primer first if the wood is unfinished. Then, paint with your chosen color using even strokes. For staining, apply the stain with a brush or cloth in the direction of the wood grain. Allow each coat to dry completely before applying additional coats as needed.
Step 4: Add New Handles or Knobs
Once the paint or stain is dry, choose handles or knobs that complement your kitchen style. You can opt for modern metallics, rustic wooden knobs, or vintage glass handles depending on your aesthetic preference. Attach them using screws and a screwdriver.
Step 5: Plan Your Layout
Decide where you want to place your new storage units in the kitchen. Consider both functionality and visual appeal. They can be hung on walls to hold spices, placed on countertops to organize utensils, or stacked under kitchen islands for additional storage.
Step 6: Mount the Drawers
If mounting on walls, measure carefully to ensure proper alignment and use wall brackets or L-brackets for support. Attach these brackets securely to both the drawer and wall studs to ensure they can bear weight. If stacking, use screws to attach drawers together for stability.
Case Study: A Cozy Farmhouse Kitchen Makeover
Sara, a DIY enthusiast from Austin, Texas, transformed her farmhouse kitchen using this method. She found a set of four matching drawers at a local thrift store. After cleaning and sanding them down, she applied a rustic whitewash stain, giving her kitchen a charming, weathered look. With some antique bronze knobs she purchased online, Sara achieved a cohesive farmhouse aesthetic that beautifully complemented her open shelving filled with mason jars and vintage ceramics. Her upcycled drawers now house her herb collection, favorite cookbooks, and an assortment of kitchen tools—all within arm's reach.
Tips for Success
- Select Quality Drawers: While most wood drawers are ideal, steer clear of those with significant structural damage unless you're prepared for additional repair work.
- Experiment with Finishes: Don't hesitate to get creative with distressed finishes or bold colors that can make your drawers stand out as statement pieces.
- Mix and Match: If uniformity isn't crucial, mixing different sizes and styles of drawers can add a quirky charm to your kitchen.
Sustainability and Personal Style
This project not only gives new life to old furniture but also allows for personal expression. By choosing colors and finishes that resonate with you, these repurposed drawers become a unique reflection of your personality and values. Additionally, this DIY venture is an excellent way for families to spend quality time together while teaching children about the importance of recycling and creativity.
The Impact of Upcycling
The impact of upcycling extends beyond personal satisfaction; it contributes positively to environmental conservation by reducing landfill waste and minimizing the demand for new resources. Moreover, it fosters creativity by challenging individuals to think innovatively about ordinary items.
Embarking on this project might seem daunting initially, but the rewards are manifold—a beautiful kitchen addition that speaks volumes about sustainability and style. Embrace this journey not only as a home improvement task but as a step towards more responsible living.