Creating Lush Vertical Gardens on Balconies with Minimal Tools
Why Vertical Gardens?
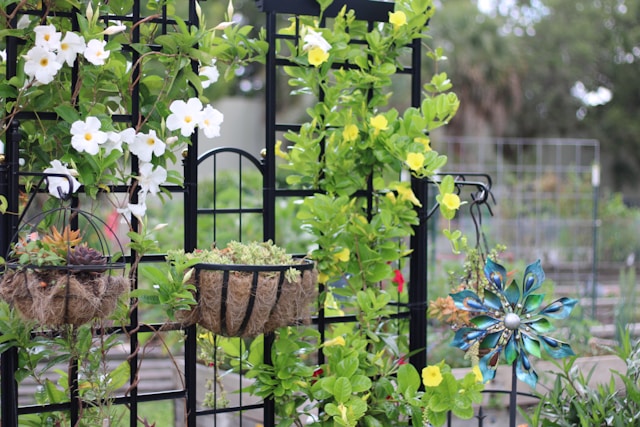
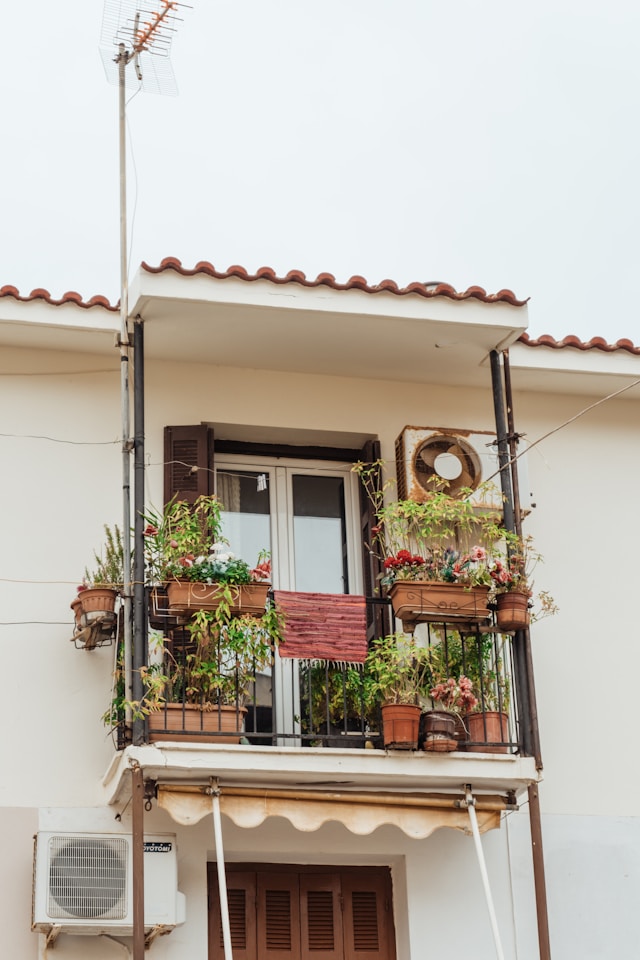
In urban environments, space is a premium commodity, especially for those living in apartments with limited outdoor areas. A vertical garden is a perfect solution for bringing greenery to balconies where horizontal space is minimal. Not only do they maximize the use of vertical space, but they also create a stunning visual impact and can be functional by growing herbs and small vegetables.
Materials You'll Need
The key to creating a vertical garden is using simple, recyclable materials. Here's what you'll need:
- Pallets: Recycled wooden pallets are ideal for vertical gardens due to their structure and availability.
- Geotextile fabric: Used to line the pallets and hold soil.
- Potting soil: A quality soil mix suitable for the plants you intend to grow.
- Plants: Choose based on sunlight exposure and personal preference. Herbs like basil, mint, or flowers like marigolds and petunias are excellent choices.
- Basic tools: Hammer, nails or screws, scissors, and sandpaper.
Preparing Your Pallet
The first step in your project is to prepare the pallet. You should ensure it's clean, free of pests, and not treated with harmful chemicals.
Step 1: Sourcing and Cleaning
Sourcing your pallet can be as easy as visiting local businesses that discard them. Once you have your pallet:
- Thoroughly clean it with soapy water and let it dry in the sun.
- If the wood is rough, sand it down to prevent splinters.
Step 2: Checking for Safety
Some pallets are treated with chemicals for shipping purposes. Look for stamps indicating they are "HT" (heat-treated) rather than chemically treated. Avoid those marked "MB" for methyl bromide.
Assembling the Vertical Garden
Once your pallet is ready, follow these steps to assemble your vertical garden:
Step 1: Lining the Pallet
Lining the pallet with geotextile fabric helps retain soil and moisture while allowing excess water to drain out.
- Cut the fabric to cover the back, bottom, and sides of the pallet, stapling it into place securely.
Step 2: Filling with Soil
Lay the pallet flat on the ground to fill it with potting soil. This makes it easier to ensure each section is adequately filled:
- Pack the soil firmly but not too tightly; this will help support the roots of your plants.
Step 3: Planting
Select plants that thrive in your climate and consider the light exposure of your balcony.
- Create small holes in the soil for each plant and place them into the slots between slats of wood. Firmly press around each plant base to ensure stability.
Installing Your Vertical Garden
With your pallet prepped and planted, it's time to set it up on your balcony.
Step 1: Positioning
Position the pallet where it receives adequate sunlight. Most herbs and flowers require at least six hours of direct sunlight per day.
Step 2: Securing the Pallet
If your balcony allows for it, attach the pallet securely to railings or walls using hooks or brackets. Ensure it's stable enough to withstand wind without tipping over.
Caring for Your Vertical Garden
A vertical garden requires regular maintenance to thrive:
- Watering: Because vertical gardens dry out faster than traditional gardens, check moisture levels daily and water accordingly.
- Feeding: Use a liquid fertilizer every few weeks to supply nutrients that may wash away due to frequent watering.
Regularly inspect for pests or disease, addressing any issues promptly to maintain plant health.
Troubleshooting Common Issues
If your plants aren't thriving, consider these common problems:
- Poor drainage: Ensure that water is not pooling by adjusting soil composition or drainage points.
- Lack of sunlight: Reassess your garden's position if plants appear leggy or lack vibrancy.
A Real-life Success Story: Jenna's Balcony Oasis
A great example of a successful DIY vertical garden is Jenna from Seattle. Living in a one-bedroom apartment with just a tiny balcony, she transformed her space using two recycled pallets found at a local hardware store. By choosing shade-tolerant herbs like parsley and coriander, along with vibrant begonias, Jenna created a lush oasis that provided both fresh ingredients for her cooking and a beautiful escape from city life. Her main advice? "Start small and experiment—it's all about finding what works best for your space."